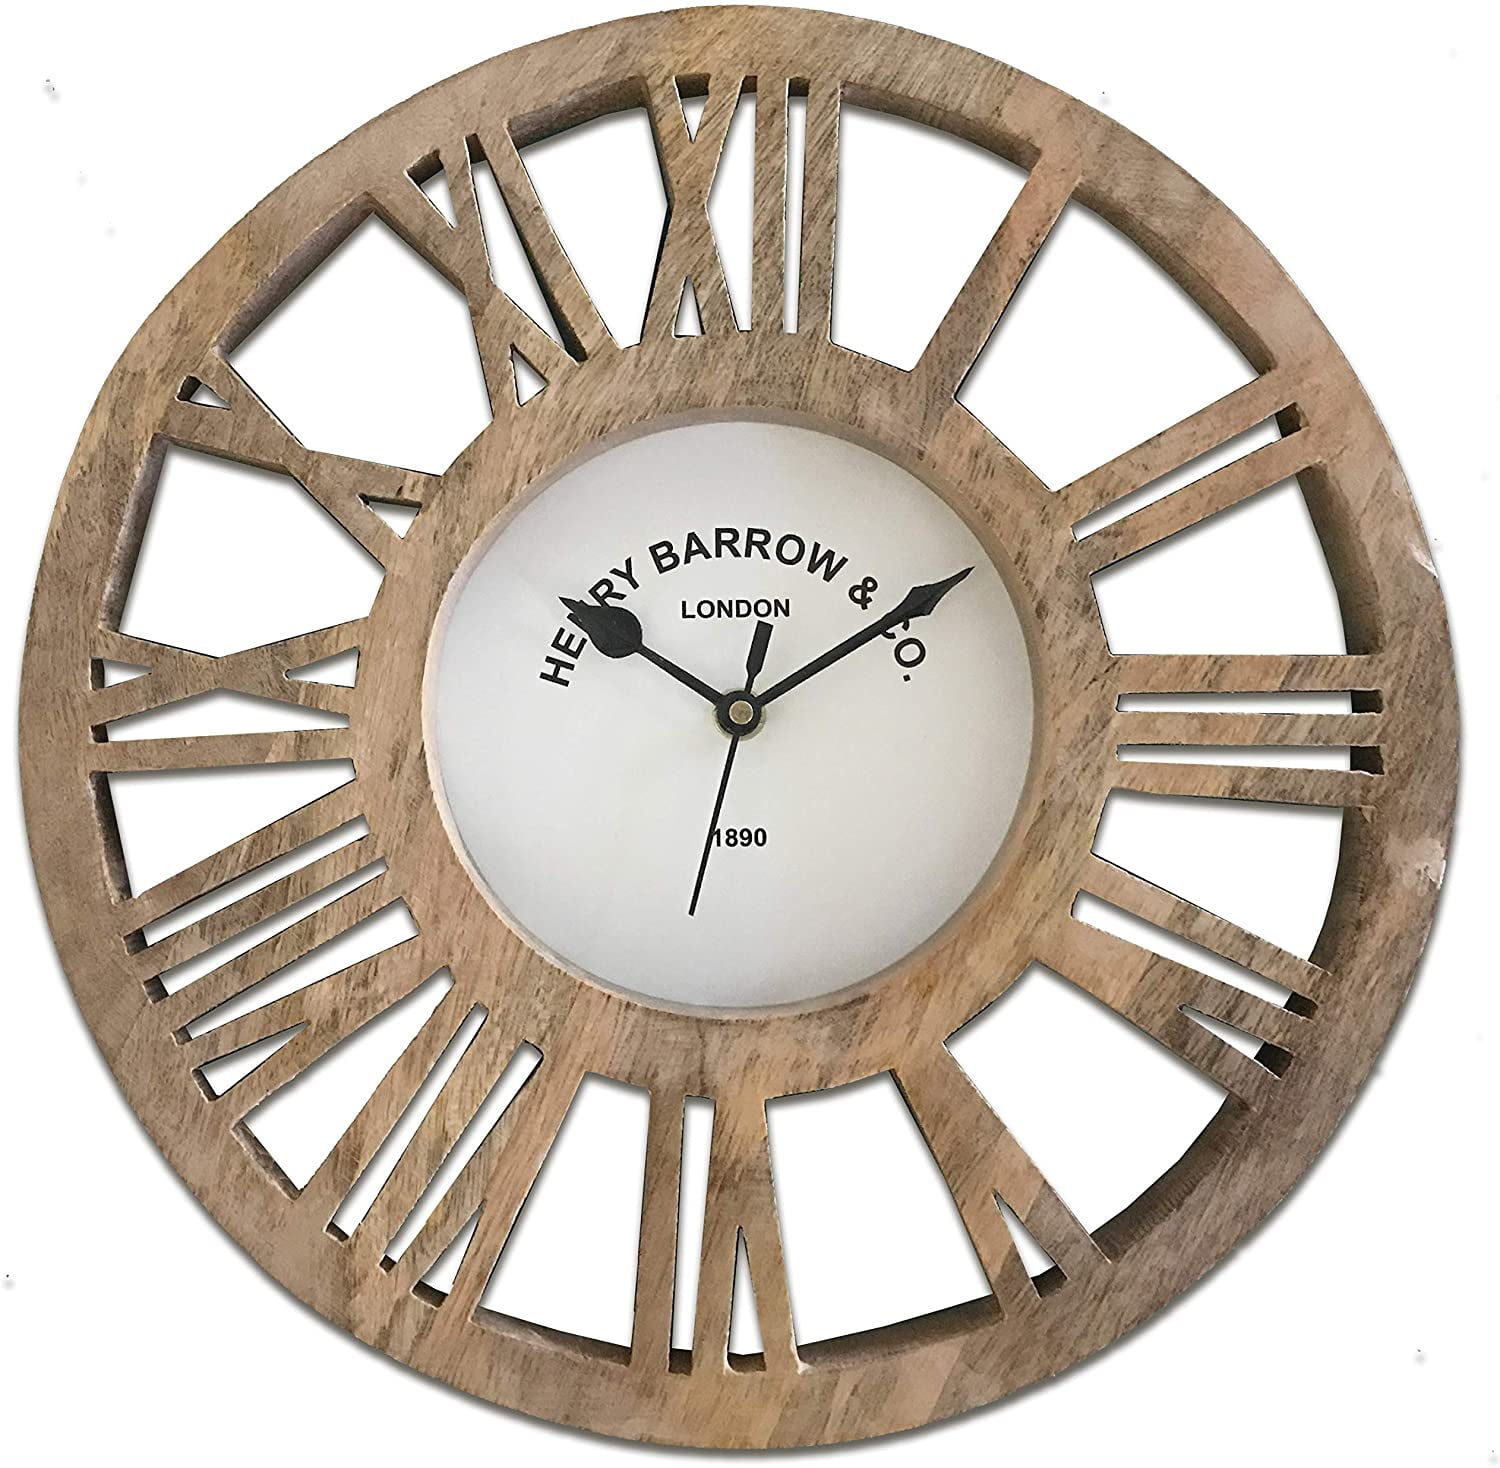
Building a Large Wooden Clock: A Comprehensive Guide
Crafting a large wooden clock is a rewarding project that blends woodworking skills with artistic expression. This guide provides a step-by-step process to help you create a stunning and functional timepiece that will be the focal point of your home or office. From selecting materials to final finishing touches, each stage is detailed to ensure success.
1. Planning and Design
Before embarking on construction, careful planning is essential.
1.1 Size and Shape
Determine the desired size and shape of your clock. Consider the available space and the overall aesthetic you want to achieve. A large clock can be a statement piece, while a smaller one might blend seamlessly with existing décor. Explore various shapes, such as square, round, or even whimsical designs.
1.2 Clock Mechanism
Choose a suitable clock mechanism. Quartz mechanisms are affordable and reliable, while mechanical movements offer a more traditional feel. Determine the desired size of the clock hands and their style to complement the overall design.
1.3 Materials
Select the appropriate wood for your clock. Hardwood species like oak, walnut, or cherry offer durability and rich color variations. Consider the weight of the wood, especially for larger clocks. Use plywood or MDF for the clock face and other structural components.
1.4 Design Sketch
Create a detailed sketch or digital design of your clock. Include dimensions, material types, and the arrangement of clock hands, numbers, and decorative elements. This visual representation will serve as a blueprint throughout the construction process.
2. Cutting and Assembly
With the design finalized, it's time to start cutting and assembling the clock components.
2.1 Cutting the Wood
Using precise measurements from your design, cut the wood for the clock face, frame, and other elements. Utilize a table saw, circular saw, or jigsaw for accurate cuts. Ensure the wood is clean and free of splinters.
2.2 Assembling the Frame
If your clock design includes a frame, assemble it using mortise and tenon joints, dovetail joints, or simple butt joints. Use wood glue and clamps to secure the joints, and allow them to dry thoroughly.
2.3 Clock Face
Prepare the clock face. If using plywood or MDF, ensure it's smooth and level. If you're using a solid wood board, consider sanding it to achieve a smooth finish.
3. Marking and Installing the Clock Mechanism
Precisely marking and installing the clock mechanism is crucial for accurate timekeeping.
3.1 Marking the Center
Using a compass or ruler, carefully mark the center of the clock face where the mechanism will be mounted. Ensure the marking is accurate, as any deviation will affect the clock's alignment.
3.2 Installing the Mechanism
Follow the manufacturer's instructions for mounting the clock mechanism. Typically, this involves securing the mechanism to the clock face using screws or bolts. Use a drill bit slightly smaller than the screw size to avoid splitting the wood. Ensure the mechanism is securely mounted and level.
4. Adding Numbers and Decorative Elements
Adding numbers and decorative elements transforms the clock into a unique and personalized timepiece.
4.1 Clock Numbers
Choose a font and style for your clock numbers. Roman numerals, Arabic numerals, or even decorative fonts can be used. Consider the size and placement of the numbers to maintain a balanced aesthetic.
There are several ways to add numbers:
4.2 Decorative Elements
Enhance the clock's design with decorative elements. You can add decorative trim, inlays, carvings, or even paint designs. Be creative and choose elements that complement the overall aesthetic of your clock.
5. Sanding and Finishing
Once the clock is assembled and decorated, it's time to smooth out any imperfections and apply a protective finish.
5.1 Sanding
Sand the entire clock using progressively finer grits of sandpaper. This will create a smooth surface for the finish. Start with a coarse grit to remove any rough edges and then gradually move to finer grits to eliminate scratches and imperfections.
5.2 Staining (Optional)
If desired, apply a wood stain to enhance the natural color of the wood. Choose a stain color that complements the clock's design. Apply the stain evenly and let it dry completely before proceeding to the next step.
5.3 Finishing
Apply a clear finish to protect the wood and enhance its appearance. Options include polyurethane, varnish, or wax. Choose a finish that is appropriate for the wood type and the desired level of gloss. Apply the finish in thin coats, allowing each coat to dry completely before applying the next.
6. Hanging the Clock
Once the clock is completely finished, it's ready to be hung.
6.1 Clock Hands
Attach the clock hands to the mechanism according to the manufacturer's instructions. Use the appropriate tools to secure the hands without damaging the mechanism.
6.2 Mounting the Clock
Choose a suitable location to hang the clock. Ensure that the location is level and stable. Use heavy-duty picture-hanging hardware to secure the clock to the wall.
6.3 Setting the Time
Once the clock is hung, set the time by adjusting the hands or using the clock mechanism's controls.
Conclusion
Building a large wooden clock is a challenging but rewarding project. With careful planning, precise execution, and a touch of artistry, you can create a unique and functional timepiece that will be a source of pride for years to come. Remember to enjoy the process, embrace imperfections, and let your creativity shine through.
