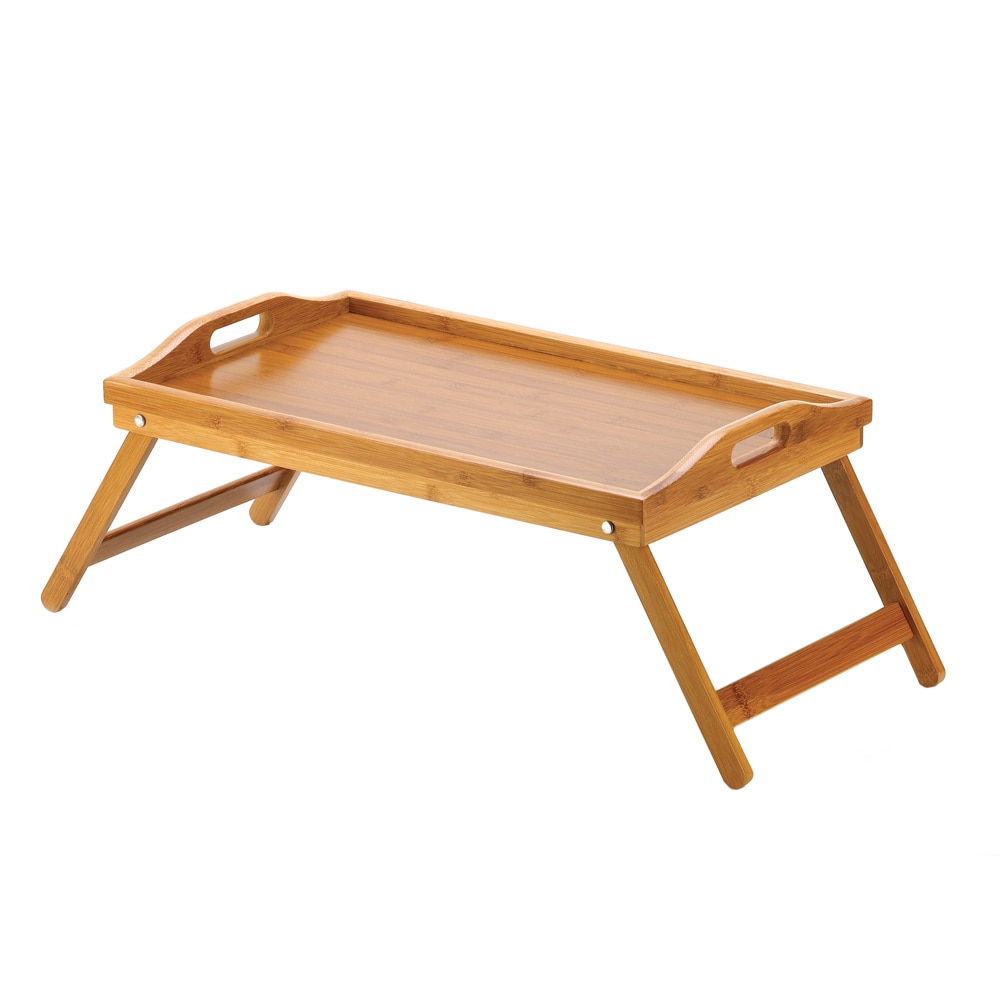
Okay, so you want to make a DIY wooden serving tray for breakfast in bed, huh? You're thinking: "A little romance, a little luxury, a whole lot of deliciousness delivered straight to my loved one's bedside." I'm with you on that! It's a truly delightful way to start the day.
Before we dive into the specifics, let's get one thing straight: you don't need to be a master carpenter to tackle this project. We're going for "rustic charm," not "museum-worthy masterpiece." So, grab your tools, put on your favorite playlist, and let's get this DIY party started!
Choosing Your Wood:
The first step is picking out your wood. You've got options, my friend! Here's the breakdown:
Plywood: This is your budget-friendly hero. It's readily available, easy to work with, and comes in various thicknesses. Choose a plywood that's at least 3/4 inch thick for durability.
Reclaimed wood: This is where you get that "vintage" vibe. Old barn wood, pallet wood, even old furniture can be repurposed into a beautiful tray. Just be sure to sand it down well to remove any rough edges and splinters.
Hardwood: If you want to invest in something that will last a lifetime, go with a hardwood like oak, maple, or walnut. These woods are strong, beautiful, and will resist scratches and dents.
Let's Talk Size:
Now, how big do you want your tray to be? Consider how many dishes you'll be serving and how big your breakfast in bed spread will be.
Standard size: This is a good starting point for a basic serving tray. Aim for something around 12" x 18".
Large size: If you want to go all out, a larger tray like 16" x 24" or even bigger will give you ample space for a spread of goodies.
Getting Your Cut:
Now, depending on your wood choice, you may need to cut your pieces to size. Here's what you'll need:
Measuring tape: Essential for getting accurate dimensions.
Pencil: For marking your cuts.
Circular saw or jigsaw: Use a saw that is appropriate for your wood choice.
Building the Base:
We're going for a simple rectangular base, but feel free to get creative! Here's the plan:
Cutting: Cut two pieces of wood to the length of your desired tray.
Cutting: Cut two pieces of wood to the width of your desired tray.
Joining: Use wood glue and screws or nails to attach the pieces together. Be sure to clamp the pieces together firmly to ensure a strong bond.
Adding Handles:
Handles are a must for a good breakfast in bed tray! There are a couple of options:
Pre-made handles: Hardware stores sell a variety of wooden handles, so you can choose the style that best suits your tray.
DIY handles: Get creative and use rope, leather, or even old belts to create your own unique handles.
Adding Handles (continued):
Once you've chosen your handles, it's time to attach them to your tray.
Drilling: Use a drill bit slightly smaller than the screw size to pre-drill holes for your handles. This will prevent the wood from splitting.
Attaching: Screw or nail your handles onto the sides of your tray. Be sure to use screws or nails that are appropriate for the thickness of your wood.
Finishing Touches:
Time to make your tray truly shine!
Sanding: Sand down the entire tray to create a smooth finish. Start with a coarse grit sandpaper and gradually move to a finer grit for a polished look.
Staining: If you want to add a touch of color, stain your tray with your favorite wood stain. Be sure to follow the manufacturer's instructions.
Sealing: Apply a clear sealant to protect the wood from moisture and spills.
Adding Personality:
Now, for the fun part - personalize your tray!
Embellishments: Consider adding decorative touches like carved designs, painted accents, or even stencils.
Fabric lining: Add a layer of fabric to the bottom of the tray for extra cushioning and to create a more luxurious feel. Choose a fabric that complements your tray and your overall design aesthetic.
Ready to Serve!
And there you have it - your very own DIY wooden serving tray! It's the perfect way to show your loved one (or yourself!) a little extra love on any morning. Go ahead, pile it high with delicious treats and enjoy a cozy breakfast in bed!
Tips for Success:
Measure twice, cut once: This golden rule of woodworking is especially important for this project. Make sure your measurements are accurate to ensure your tray fits together perfectly.
Don't rush the process: Take your time and enjoy the process. You'll be surprised how much fun it is to create something with your own hands.
Have fun! This is a chance to let your creativity run wild. Don't be afraid to experiment and add your own personal touches.
Final Thoughts:
Creating a DIY wooden serving tray is a wonderful way to express your love, add a touch of charm to your home, and enjoy a special breakfast in bed experience. So, grab your tools, put on your favorite music, and get ready to bring a little DIY magic into your life. Happy crafting!
